01. Udacity Workspace Instructions
Udacity Workspace Instructions
The Power of Udacity Workspaces
Udacity is thrilled to offer you one-button access to a GPU-driven Light Ubuntu Linux desktop in the cloud.
What does that mean to you? And why is it so important?
As a student in this program, you are not required to spend extra money to buy a high-performance Linux PC, boot a Linux OS inside a Virtual Machine, or install a dual boot. All that you need is a decent Internet connection and a Google Chrome browser. With that, you can work on computationally intensive robotic tasks in the cloud!
Udacity Workspace in the Classroom
In a number of labs and projects for this program, you will find your computer environment already available in a "Udacity Workspace" online. This online tool includes GPU access where needed.
The workspace will open an IDE in the browser, backed by a light Ubuntu (Lubuntu) host.
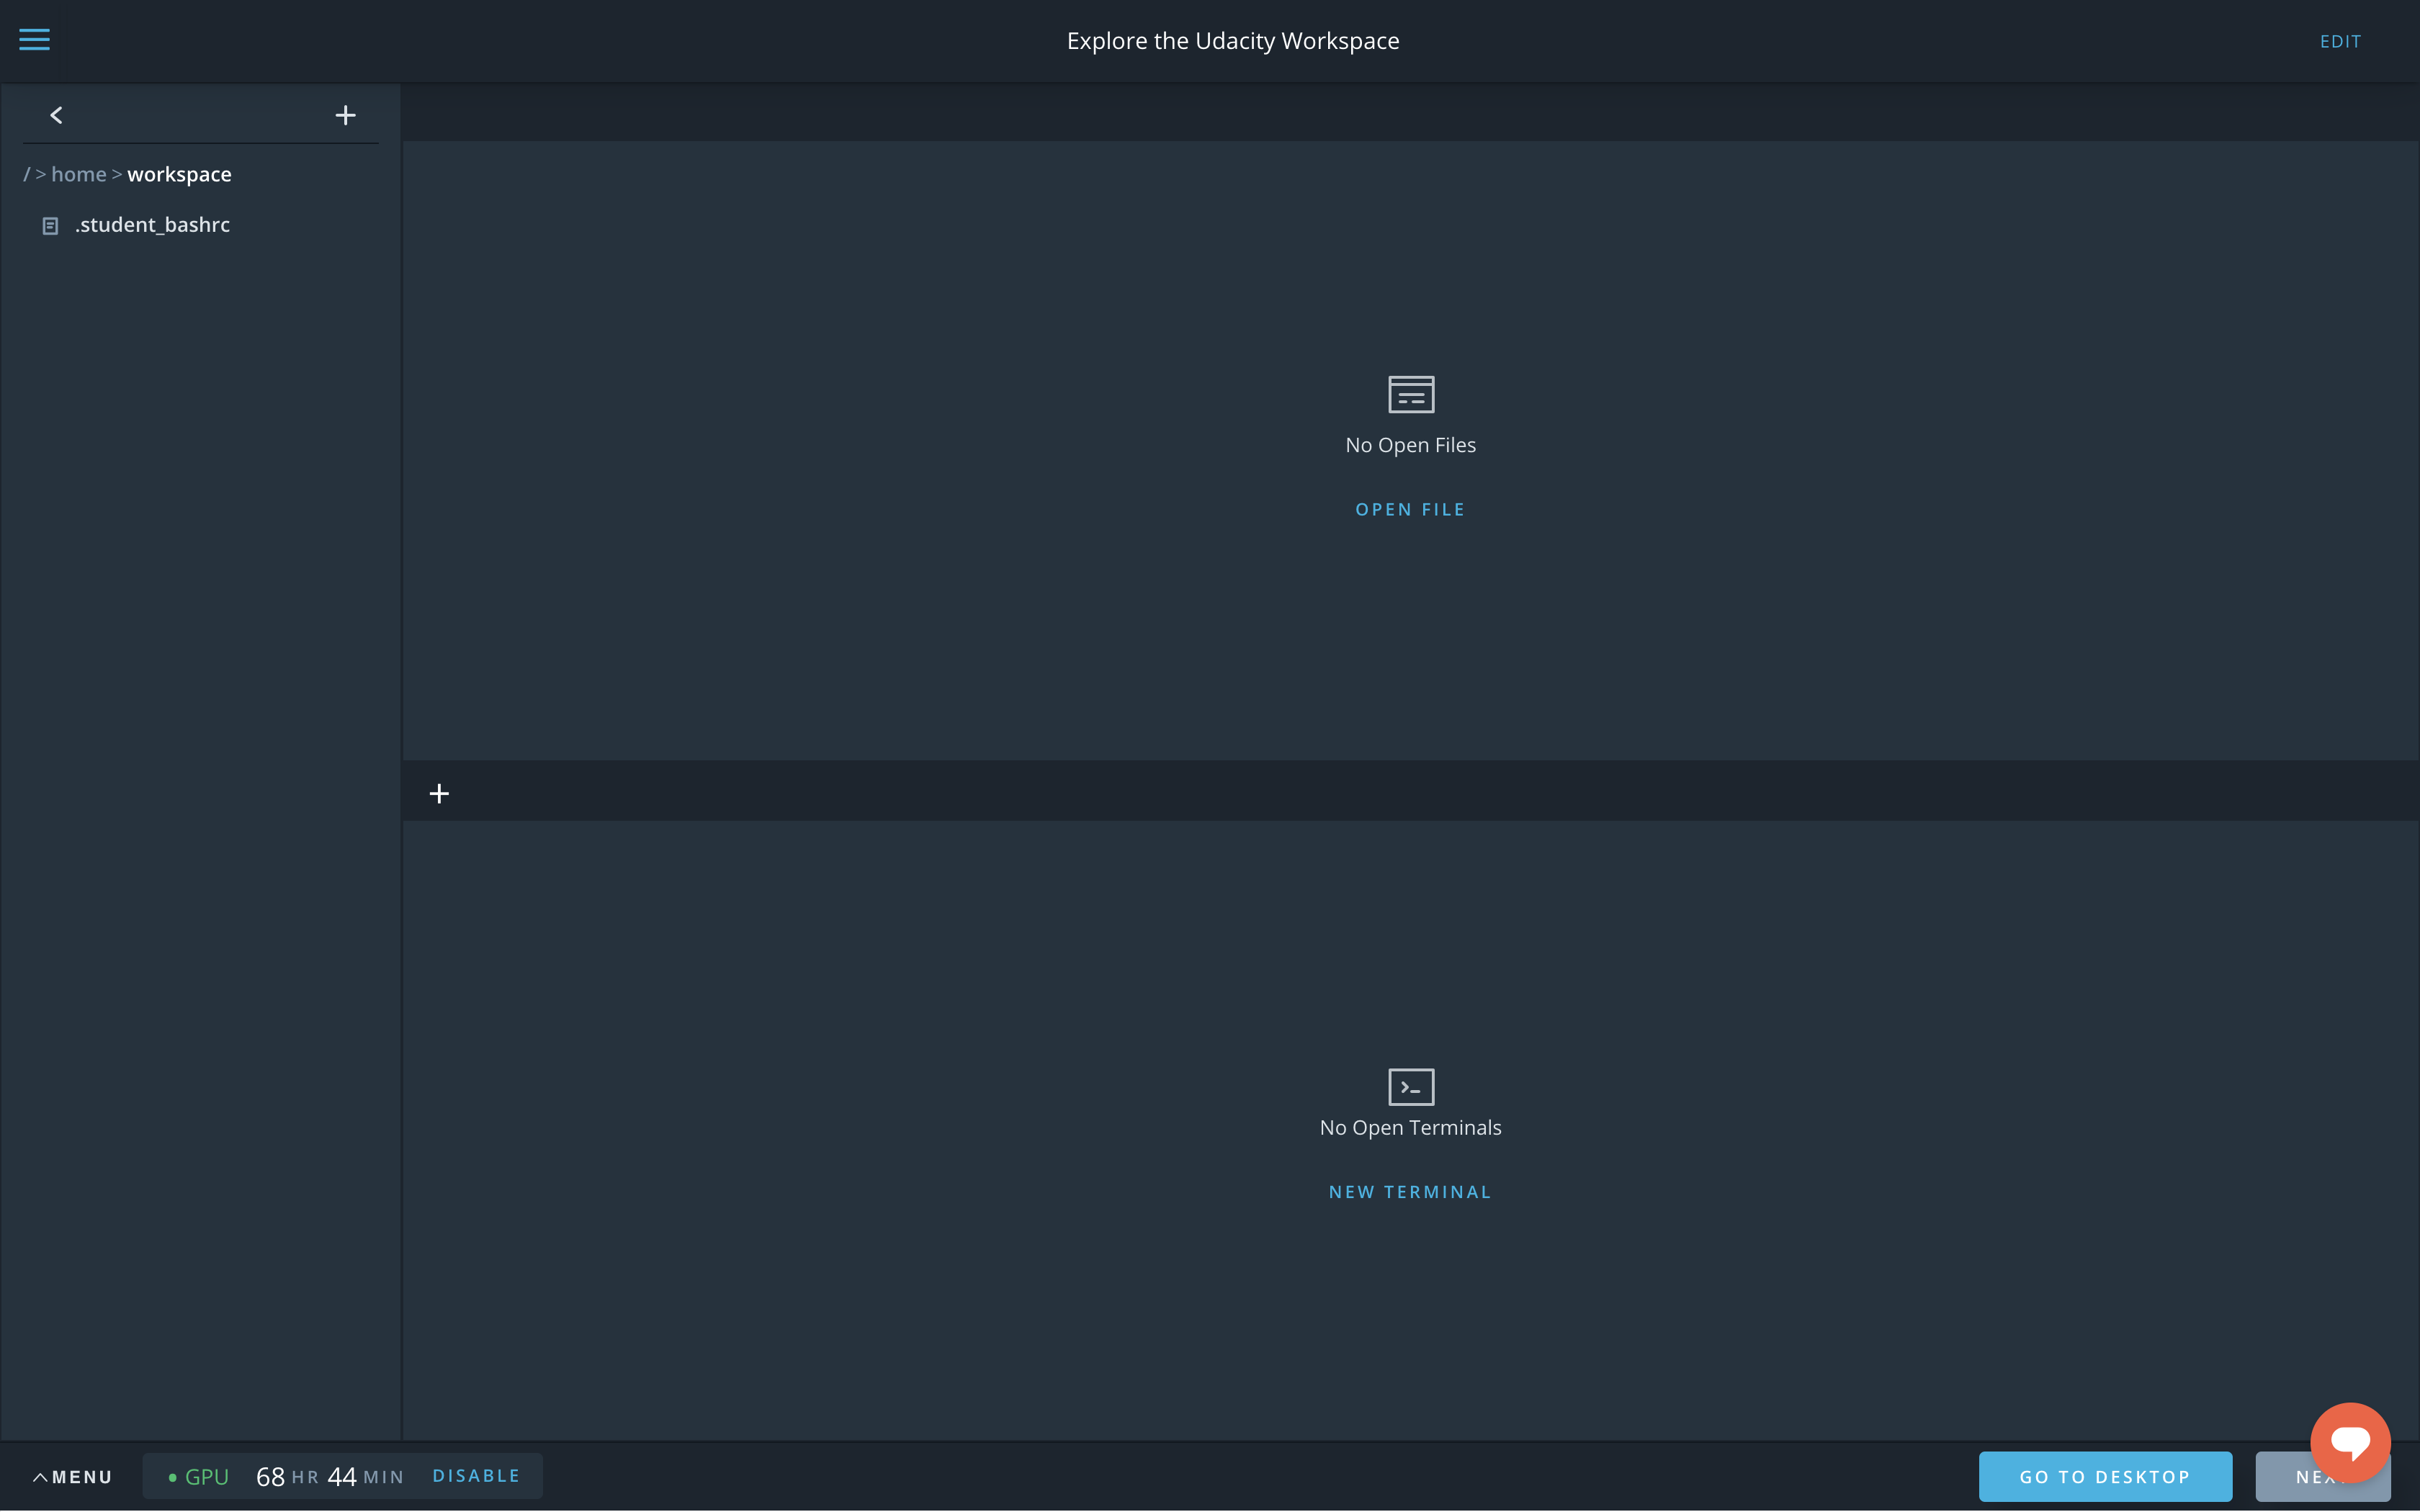
If your lab or project requires a GPU, you'll see a dialog for enabling a GPU Workspace. This dialog is because your GPU usage in the classroom is limited. You can see your remaining time in the lower left corner of the page, as well as an indicator showing whether or not the GPU is enabled.
Note that you must enable GPU in order to start the visual desktop. Without a GPU, you can only use the Udacity Workspace terminal in your browser.
Uploading and Downloading
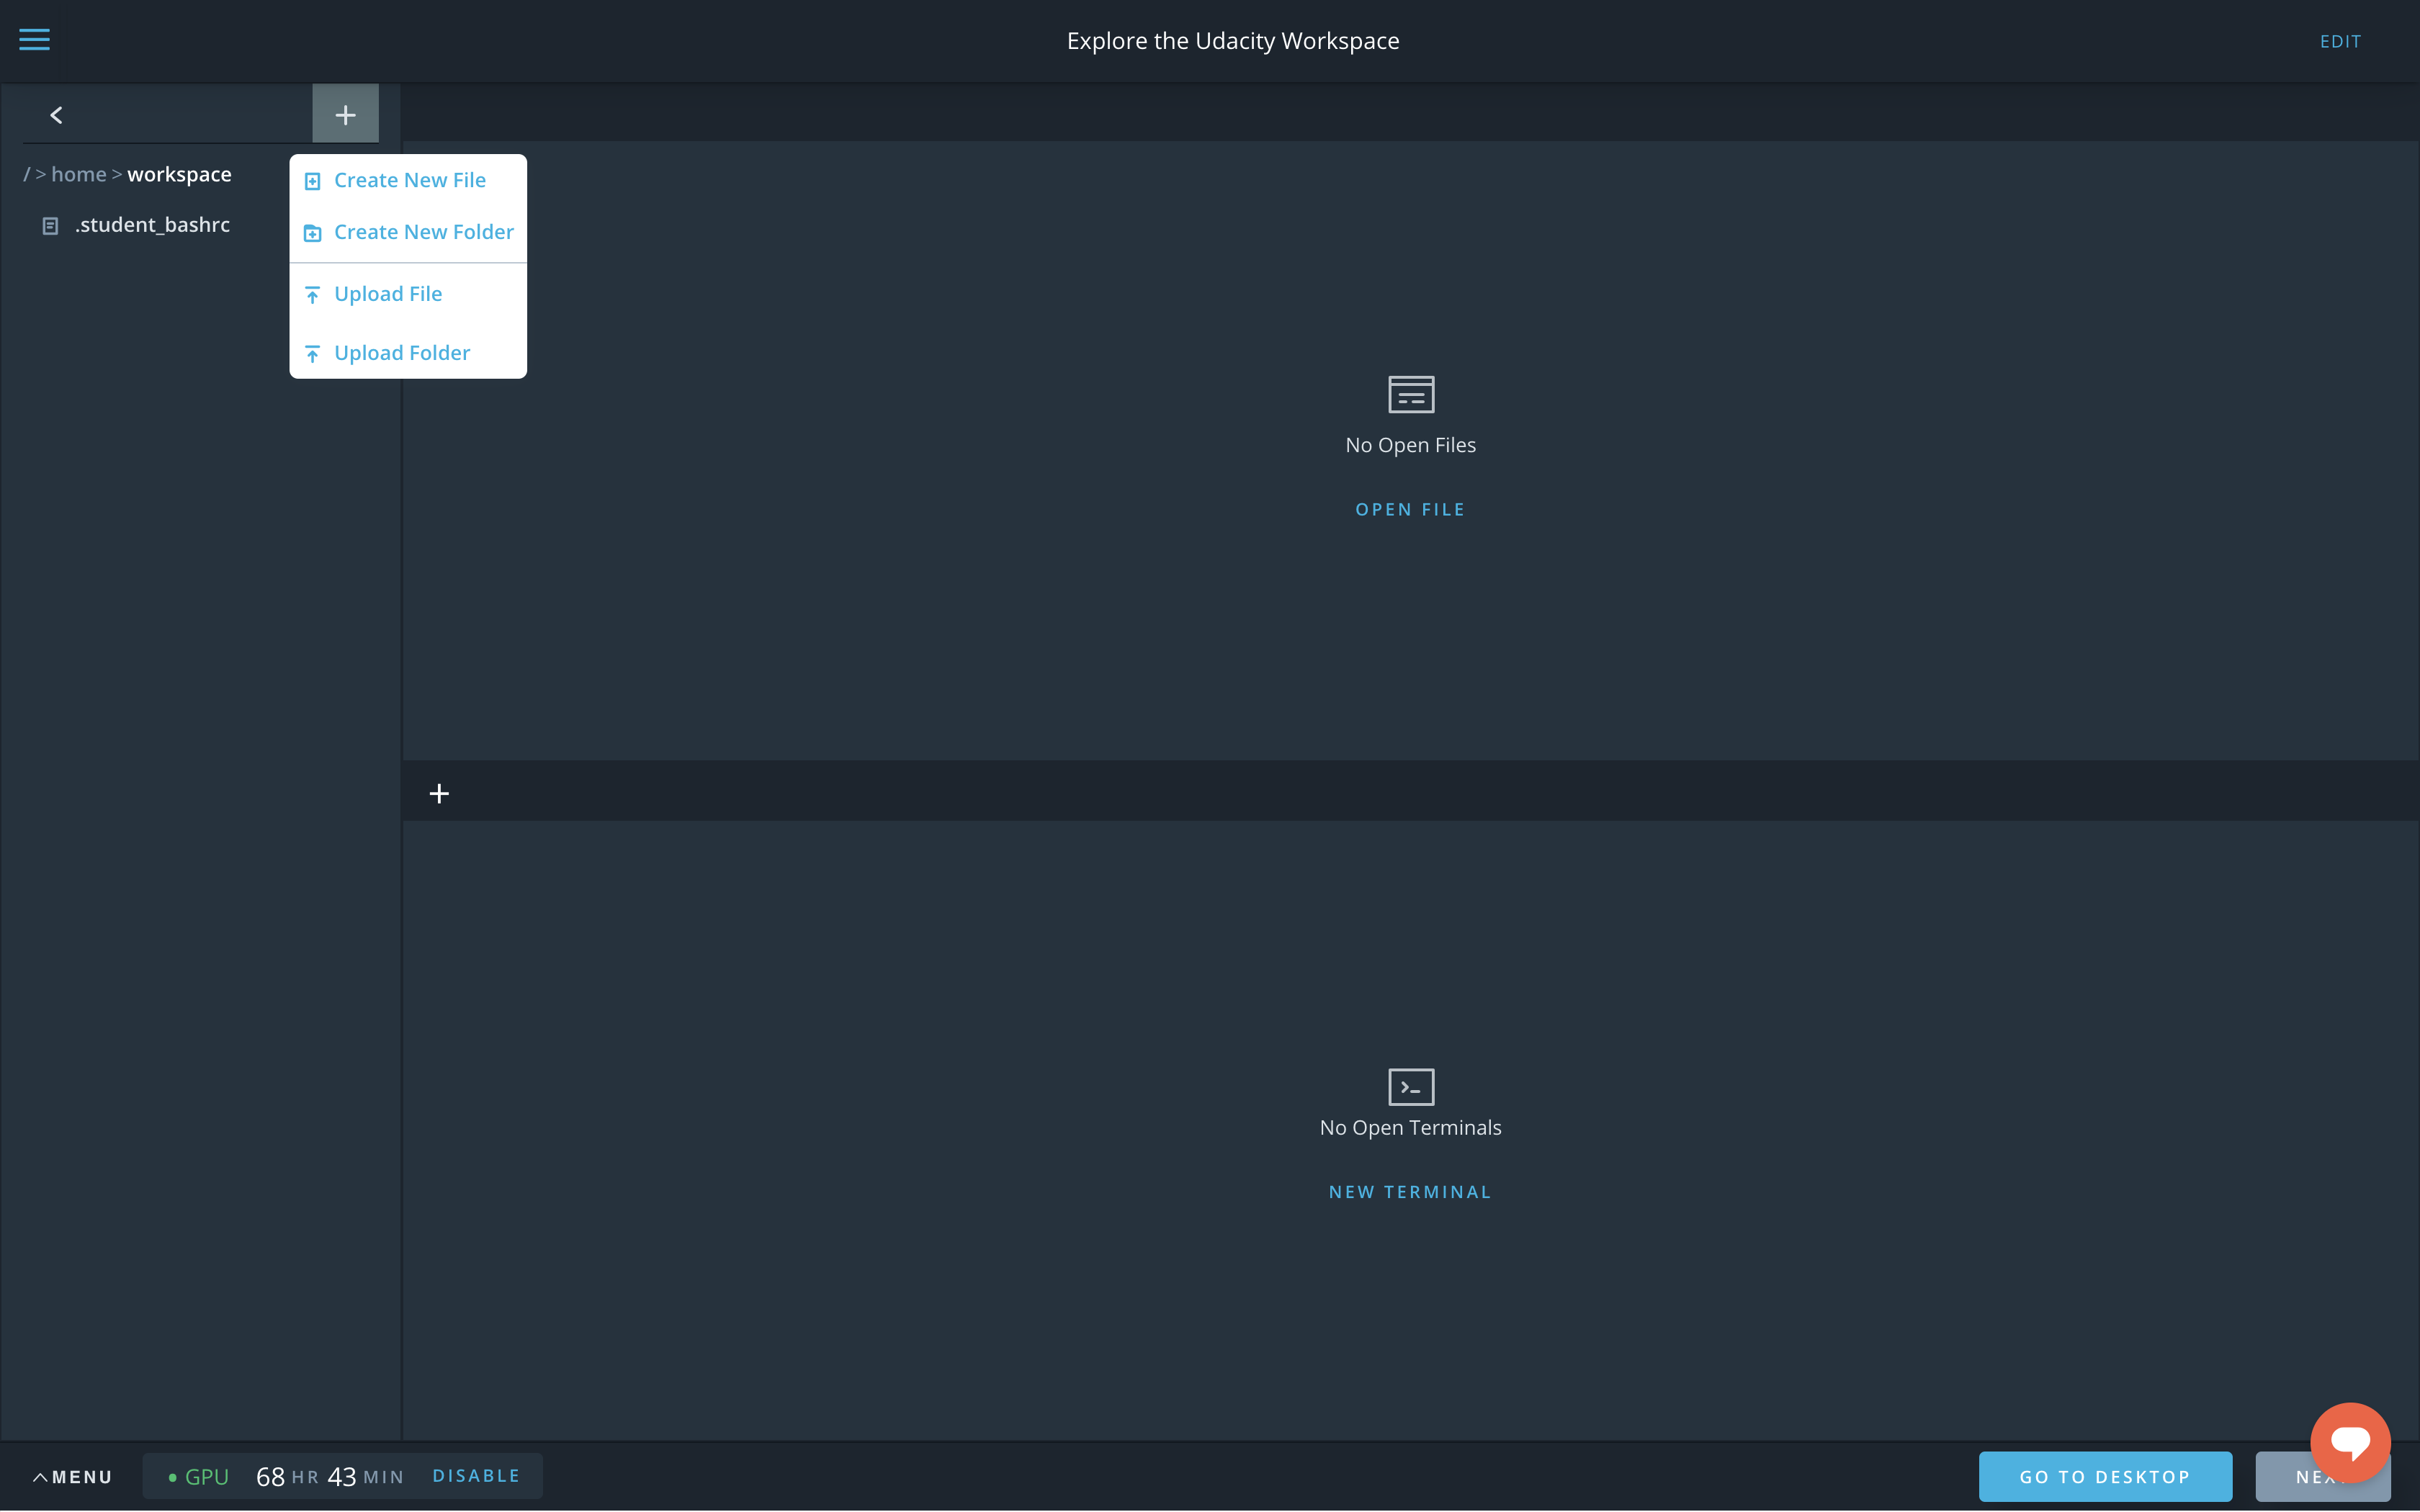
To upload files and folders from your computer to the Workspace, click on the upper left "+" sign. A menu appears with file management options.
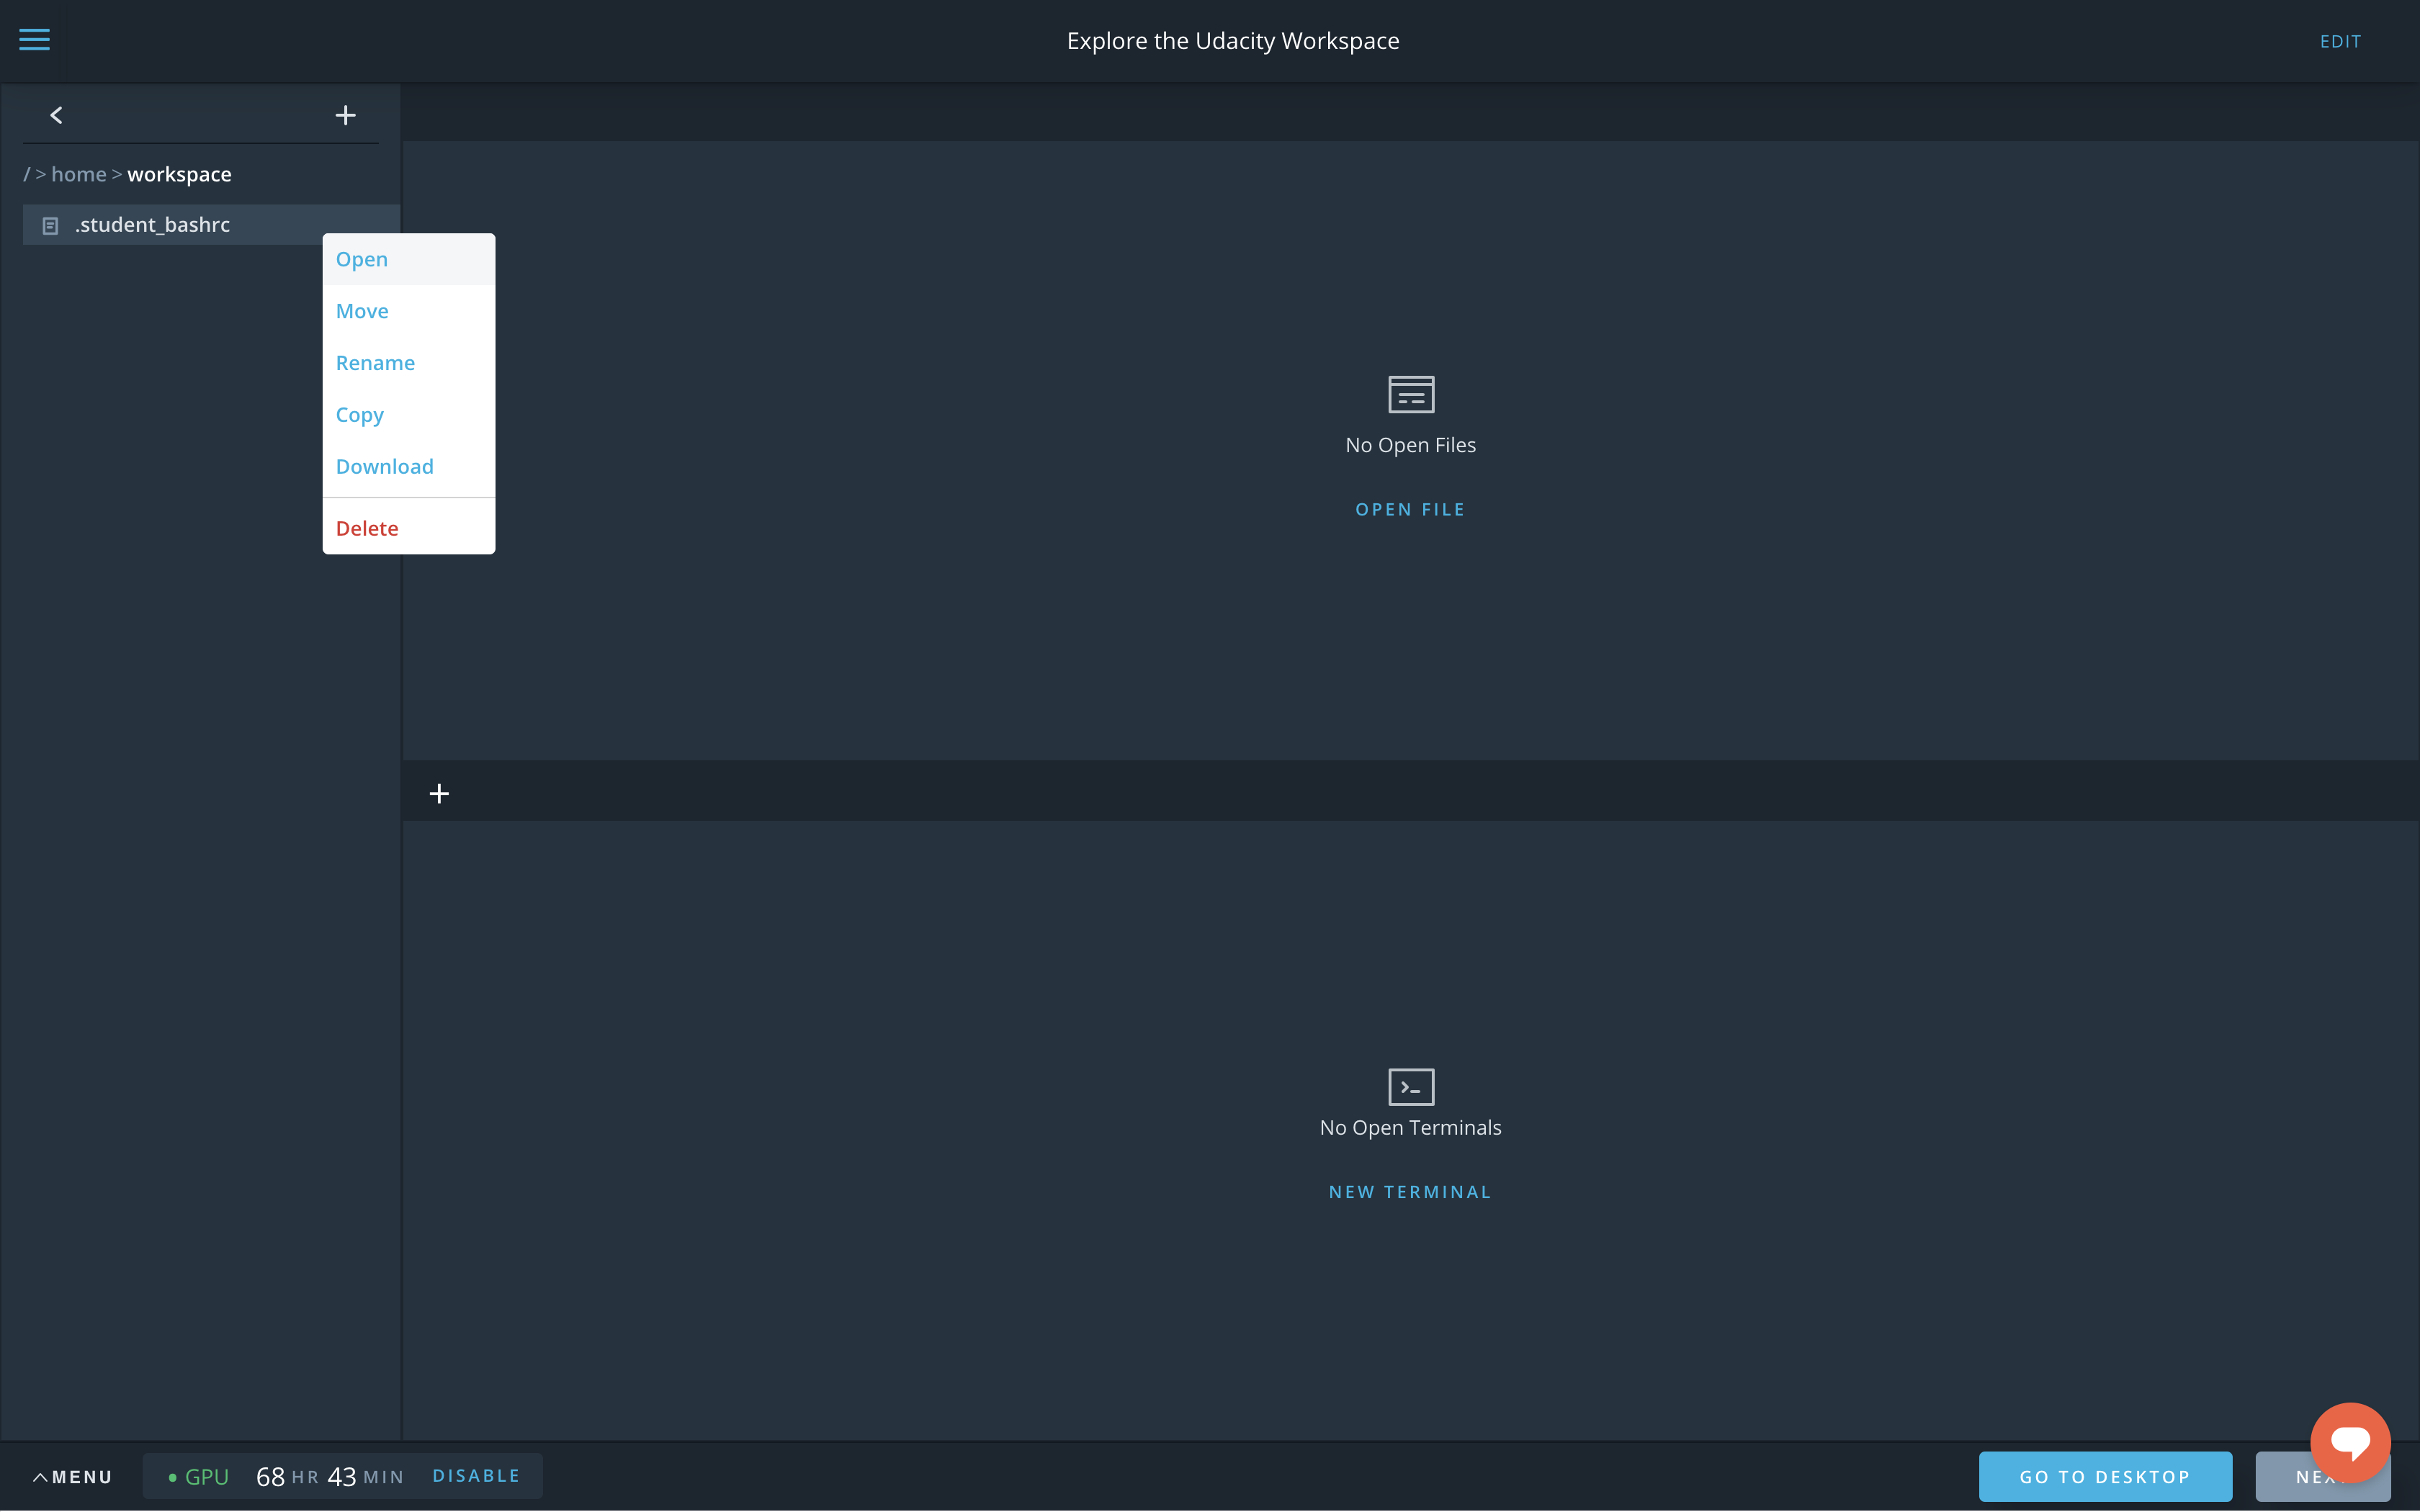
To download, copy, rename, or move files in the Workspace, right-click the file to see the menu choices.
Guidelines
-
Store all your files in the
/home/workspacedirectory so you can still access them after rebooting Ubuntu. Any file stored outside of /home/workspace/ directory will be deleted after rebooting!!! -
You'll get an automated message after the first two minutes and then every 30 minutes to check if you are still using the server. Be sure to confirm or else you'll lose access to your current session and all of the files stored outside of the
/home/workspacedirectory. - Remember to disable your GPU once you are done with your session since you will only get 50 hours of GPU time. To disable the GPU, return to the classroom and next to the remaining GPU time, hit DISABLE .
Booting the Desktop
- Enable GPU Mode (if needed and provided)
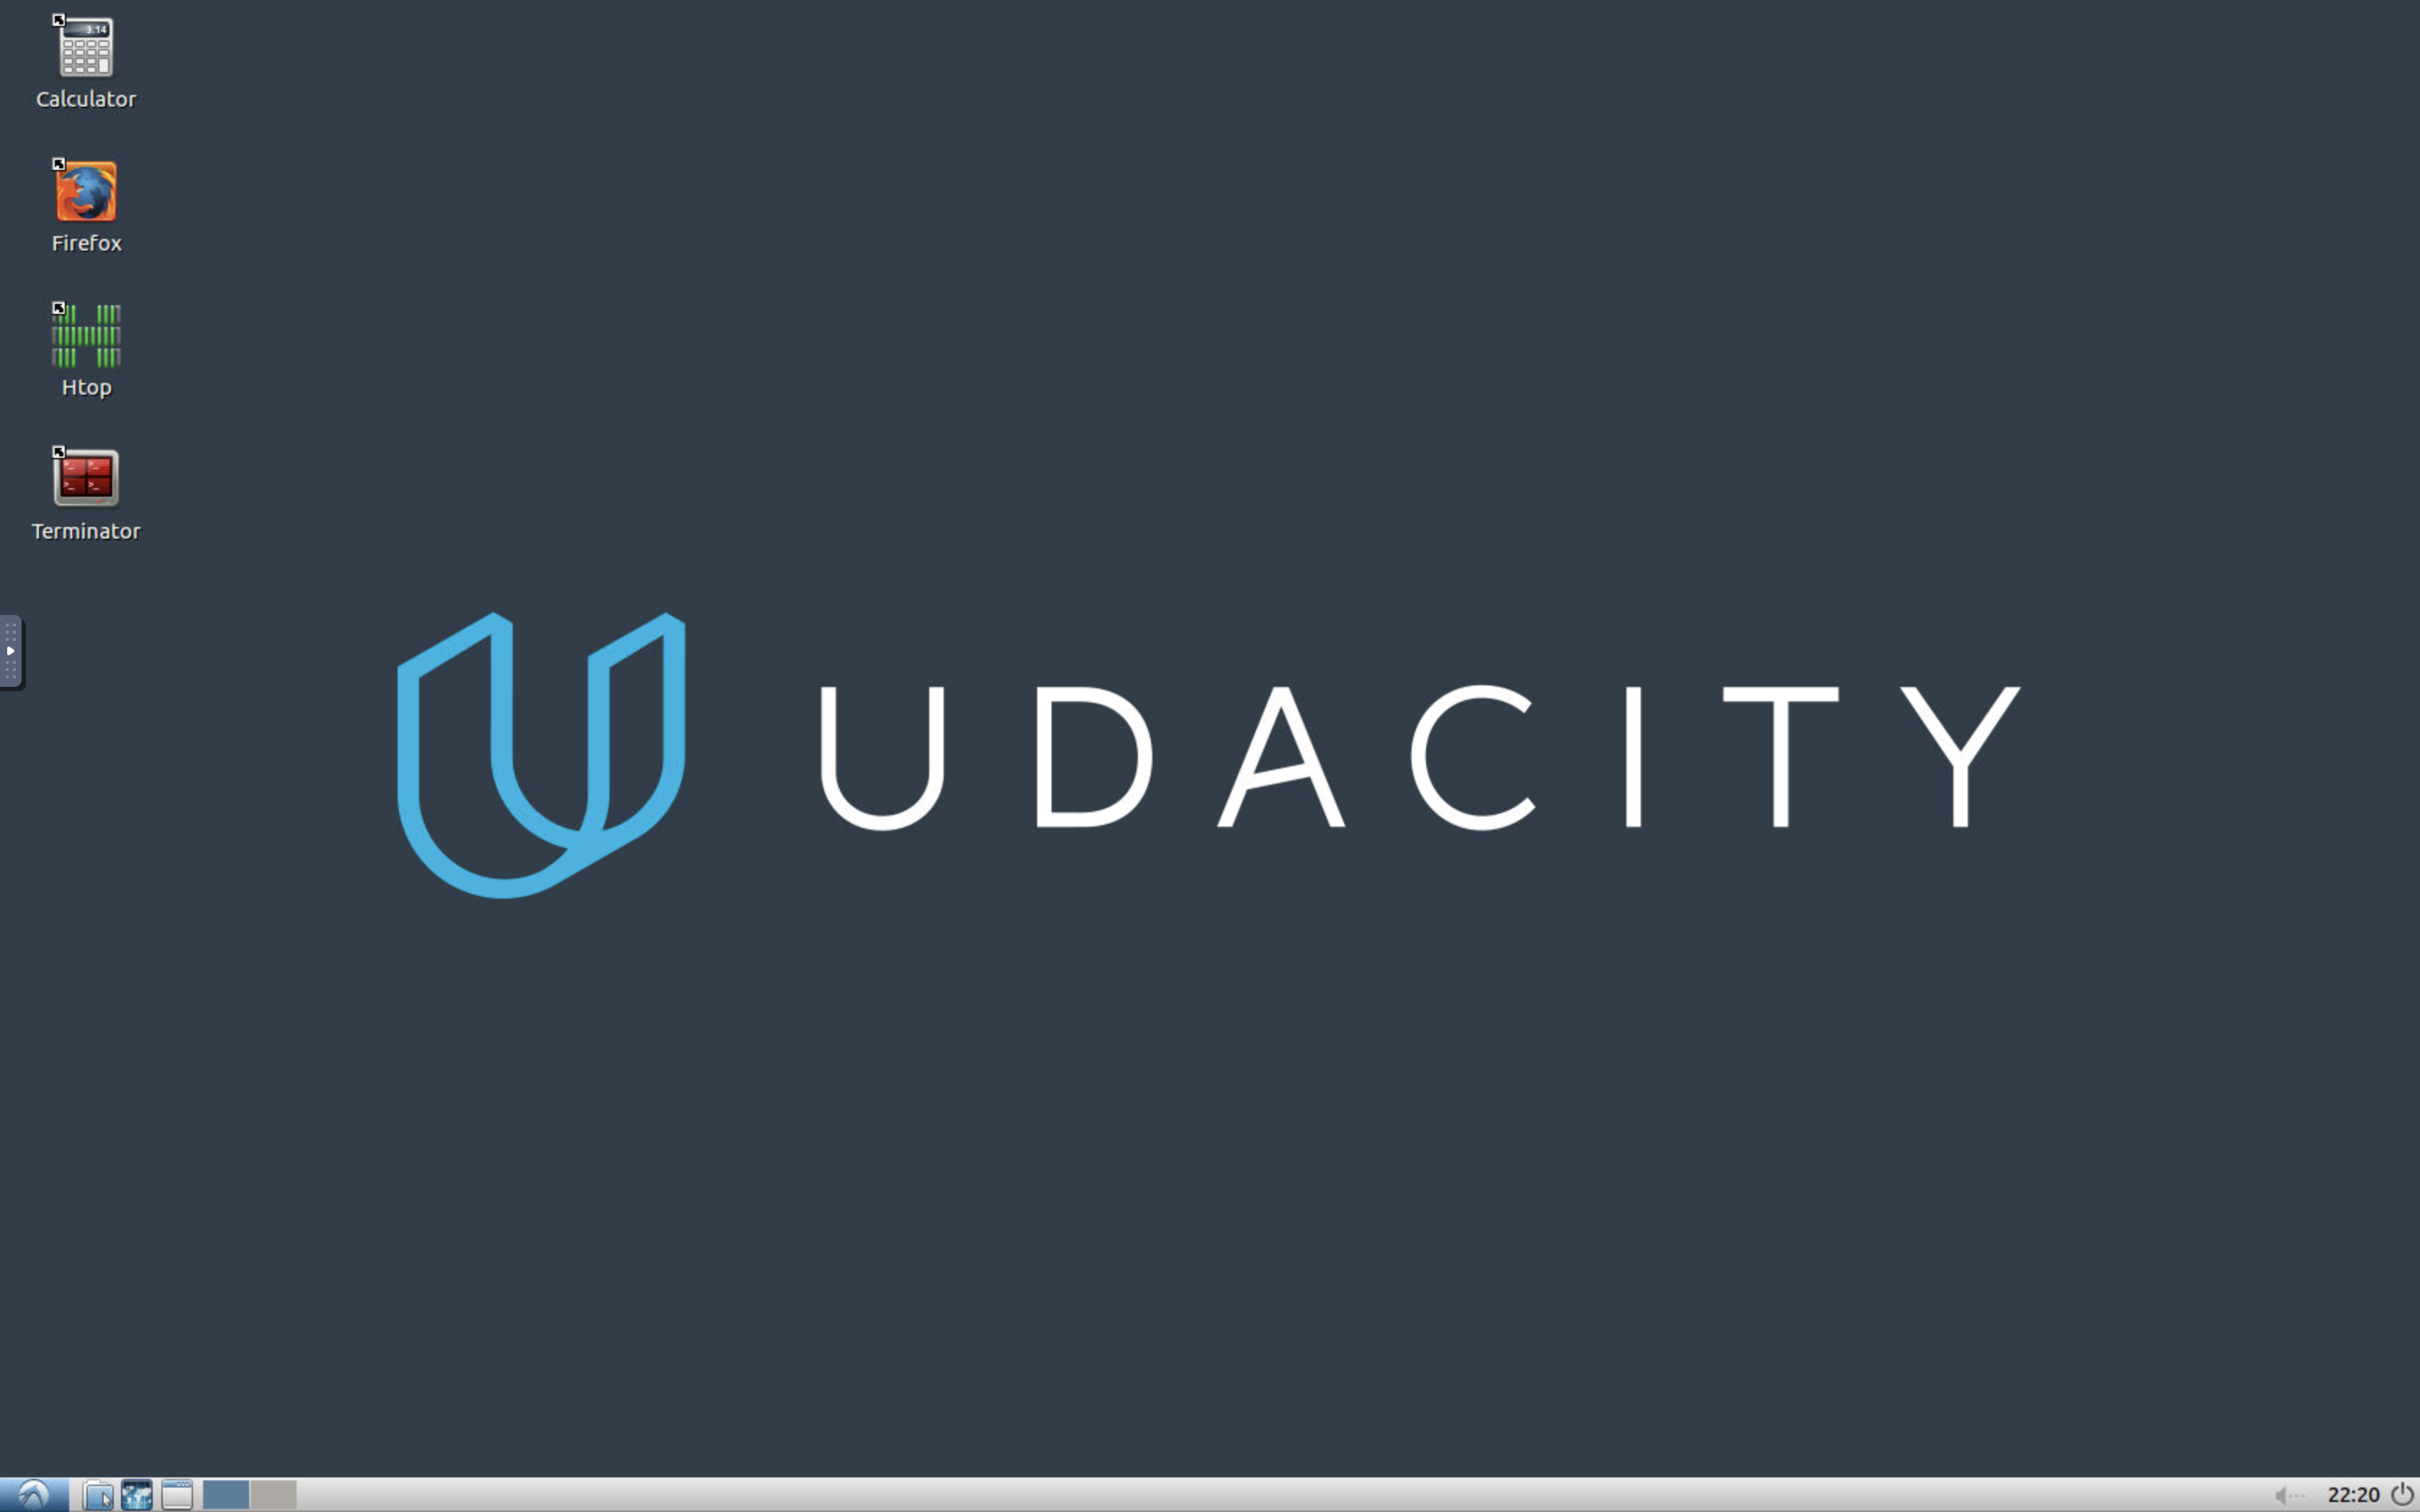
- Click GO TO DESKTOP
- Wait for at least two minutes for Lubuntu to load
- Ignore the Error(No session for PID ##) when the desktop opens
Voila! A Lubuntu desktop should now load in another browser tab!
Note : Booting the Desktop will only work on Google Chrome! Do not bookmark visual desktop links or share them with anyone because you will not be able to get back to them. Udacity Workspaces uses a different instance, and hence a different link, at each boot.
Desktop Tips
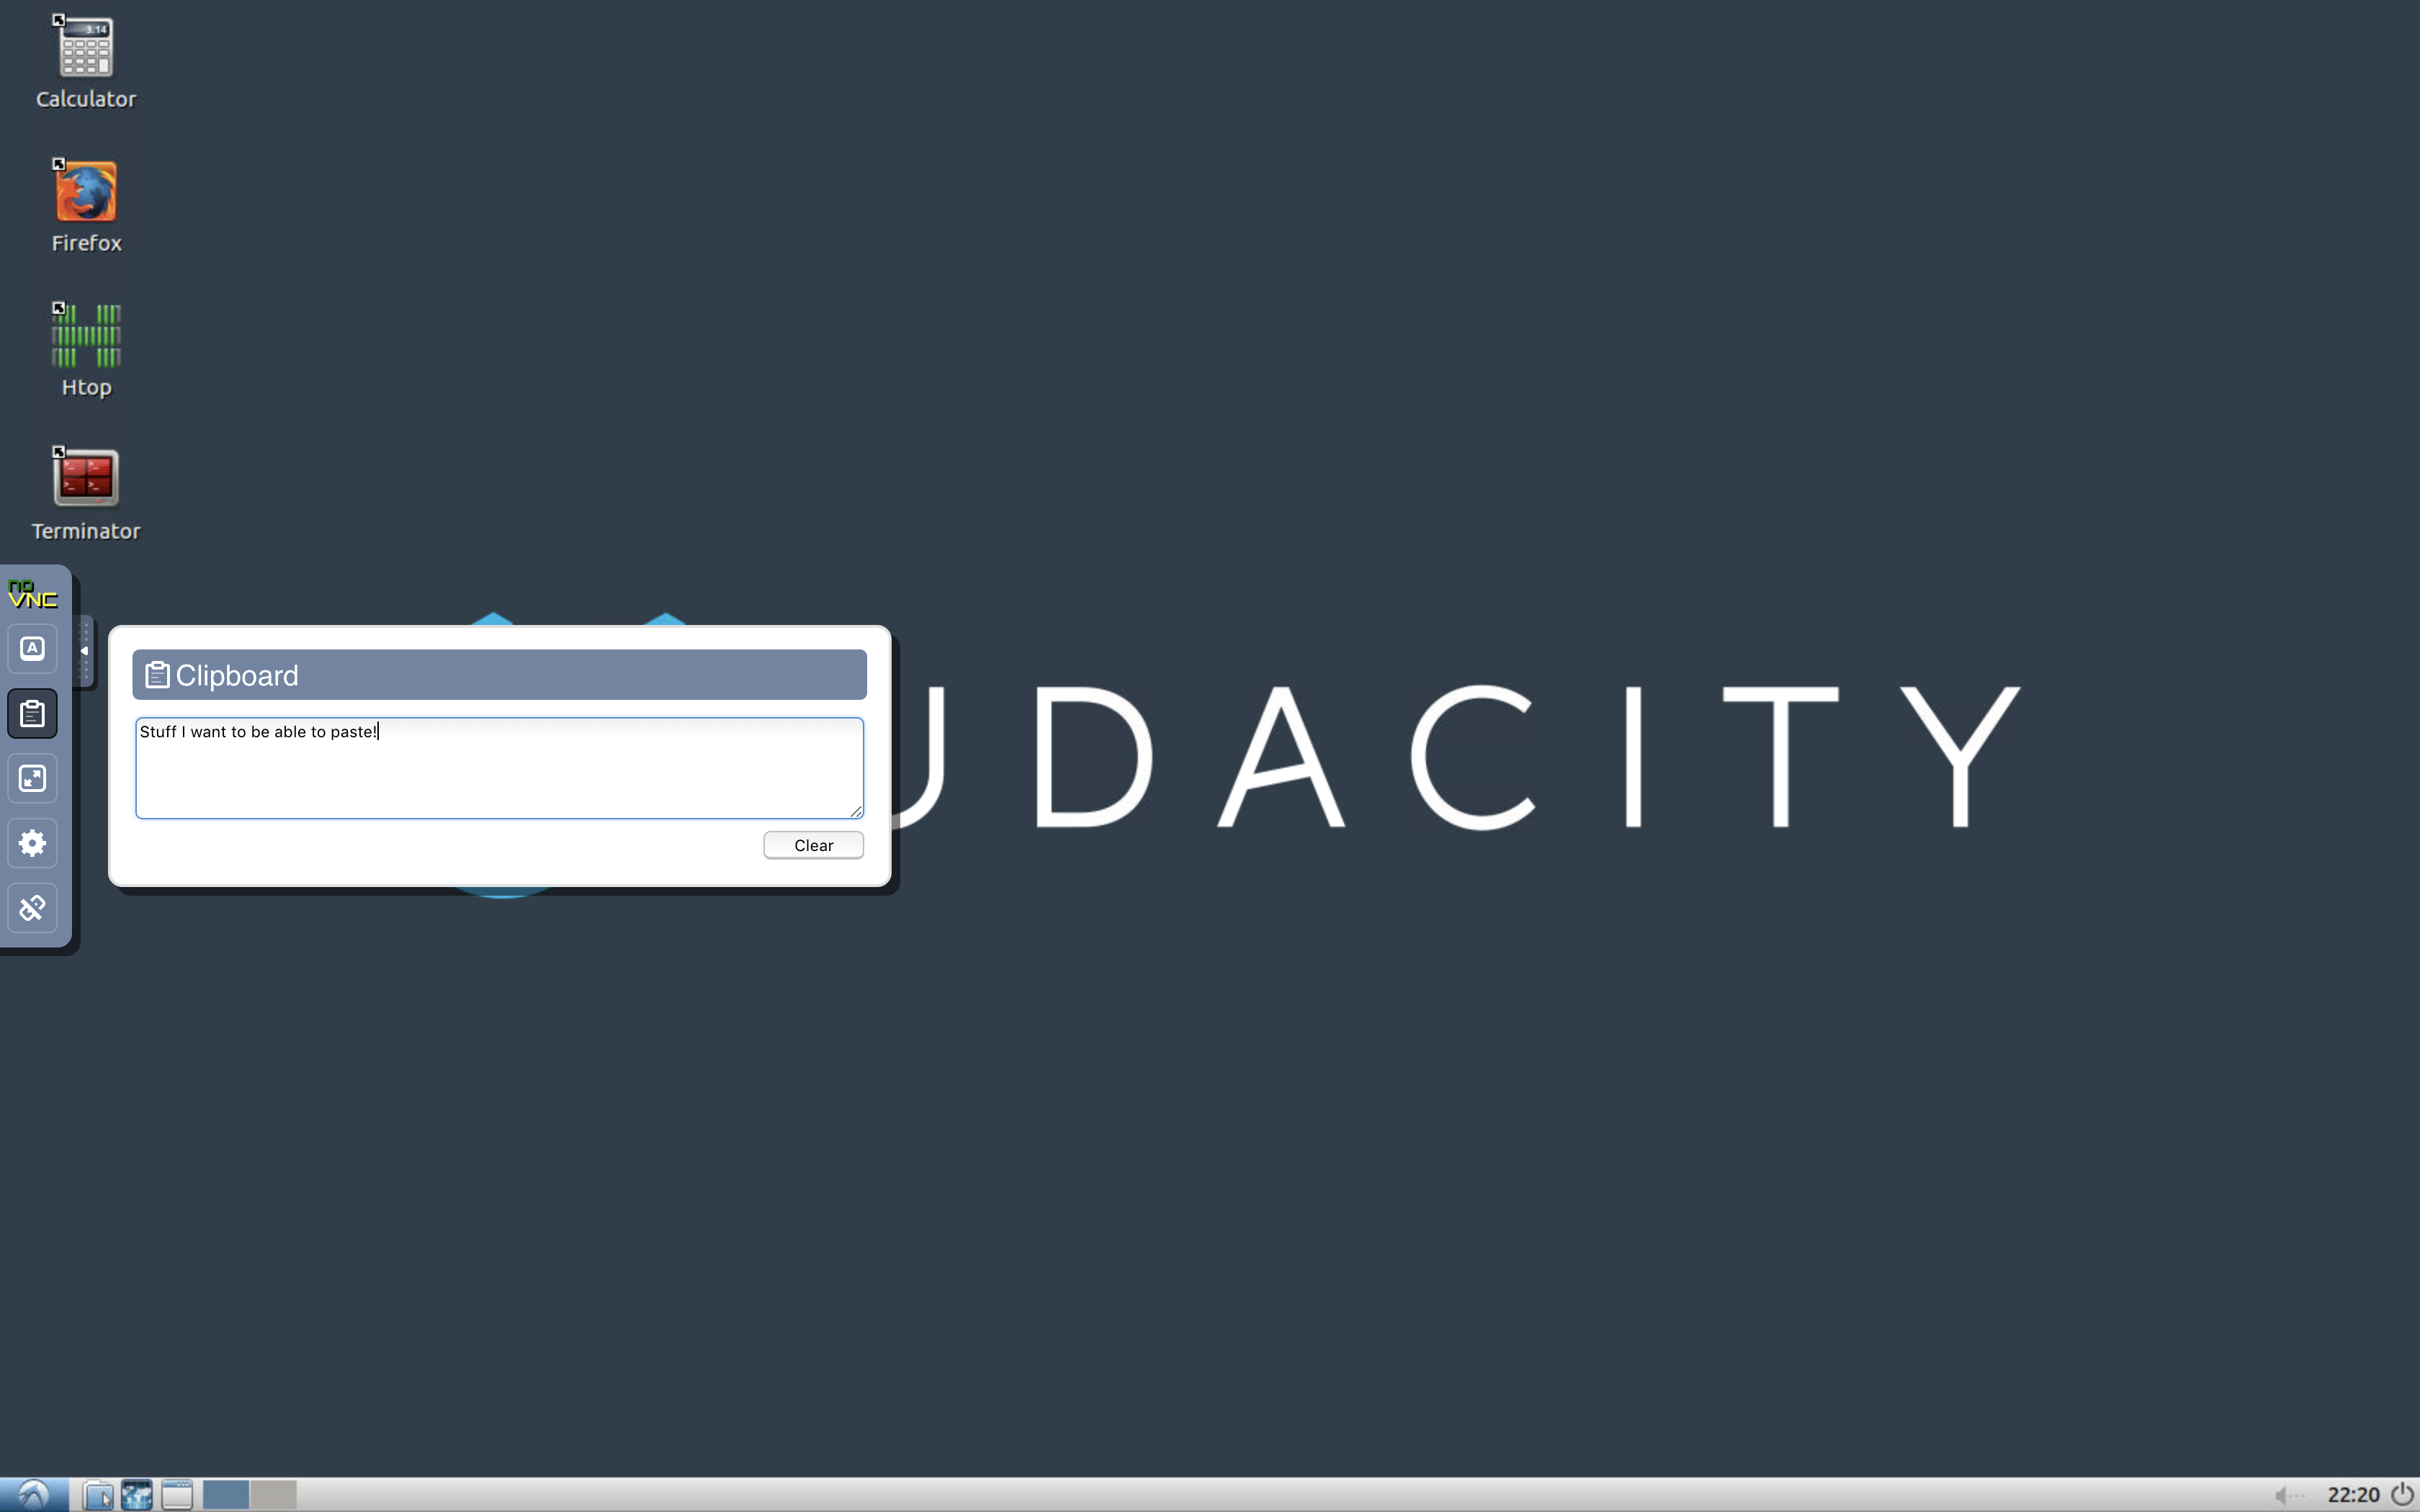
Use the Clipboard in the toolbar on the left to copy and paste text snippets between your local machine and the Ubuntu server. Simply copy a snippet from your PC, paste it in the paste toolbar section, and then copy it back to an application in your Lubuntu desktop.
Troubleshooting
If you have any difficulties with the GO TO DESKTOP step, try REFRESH WORKSPACE from the Menu on the instructions page:
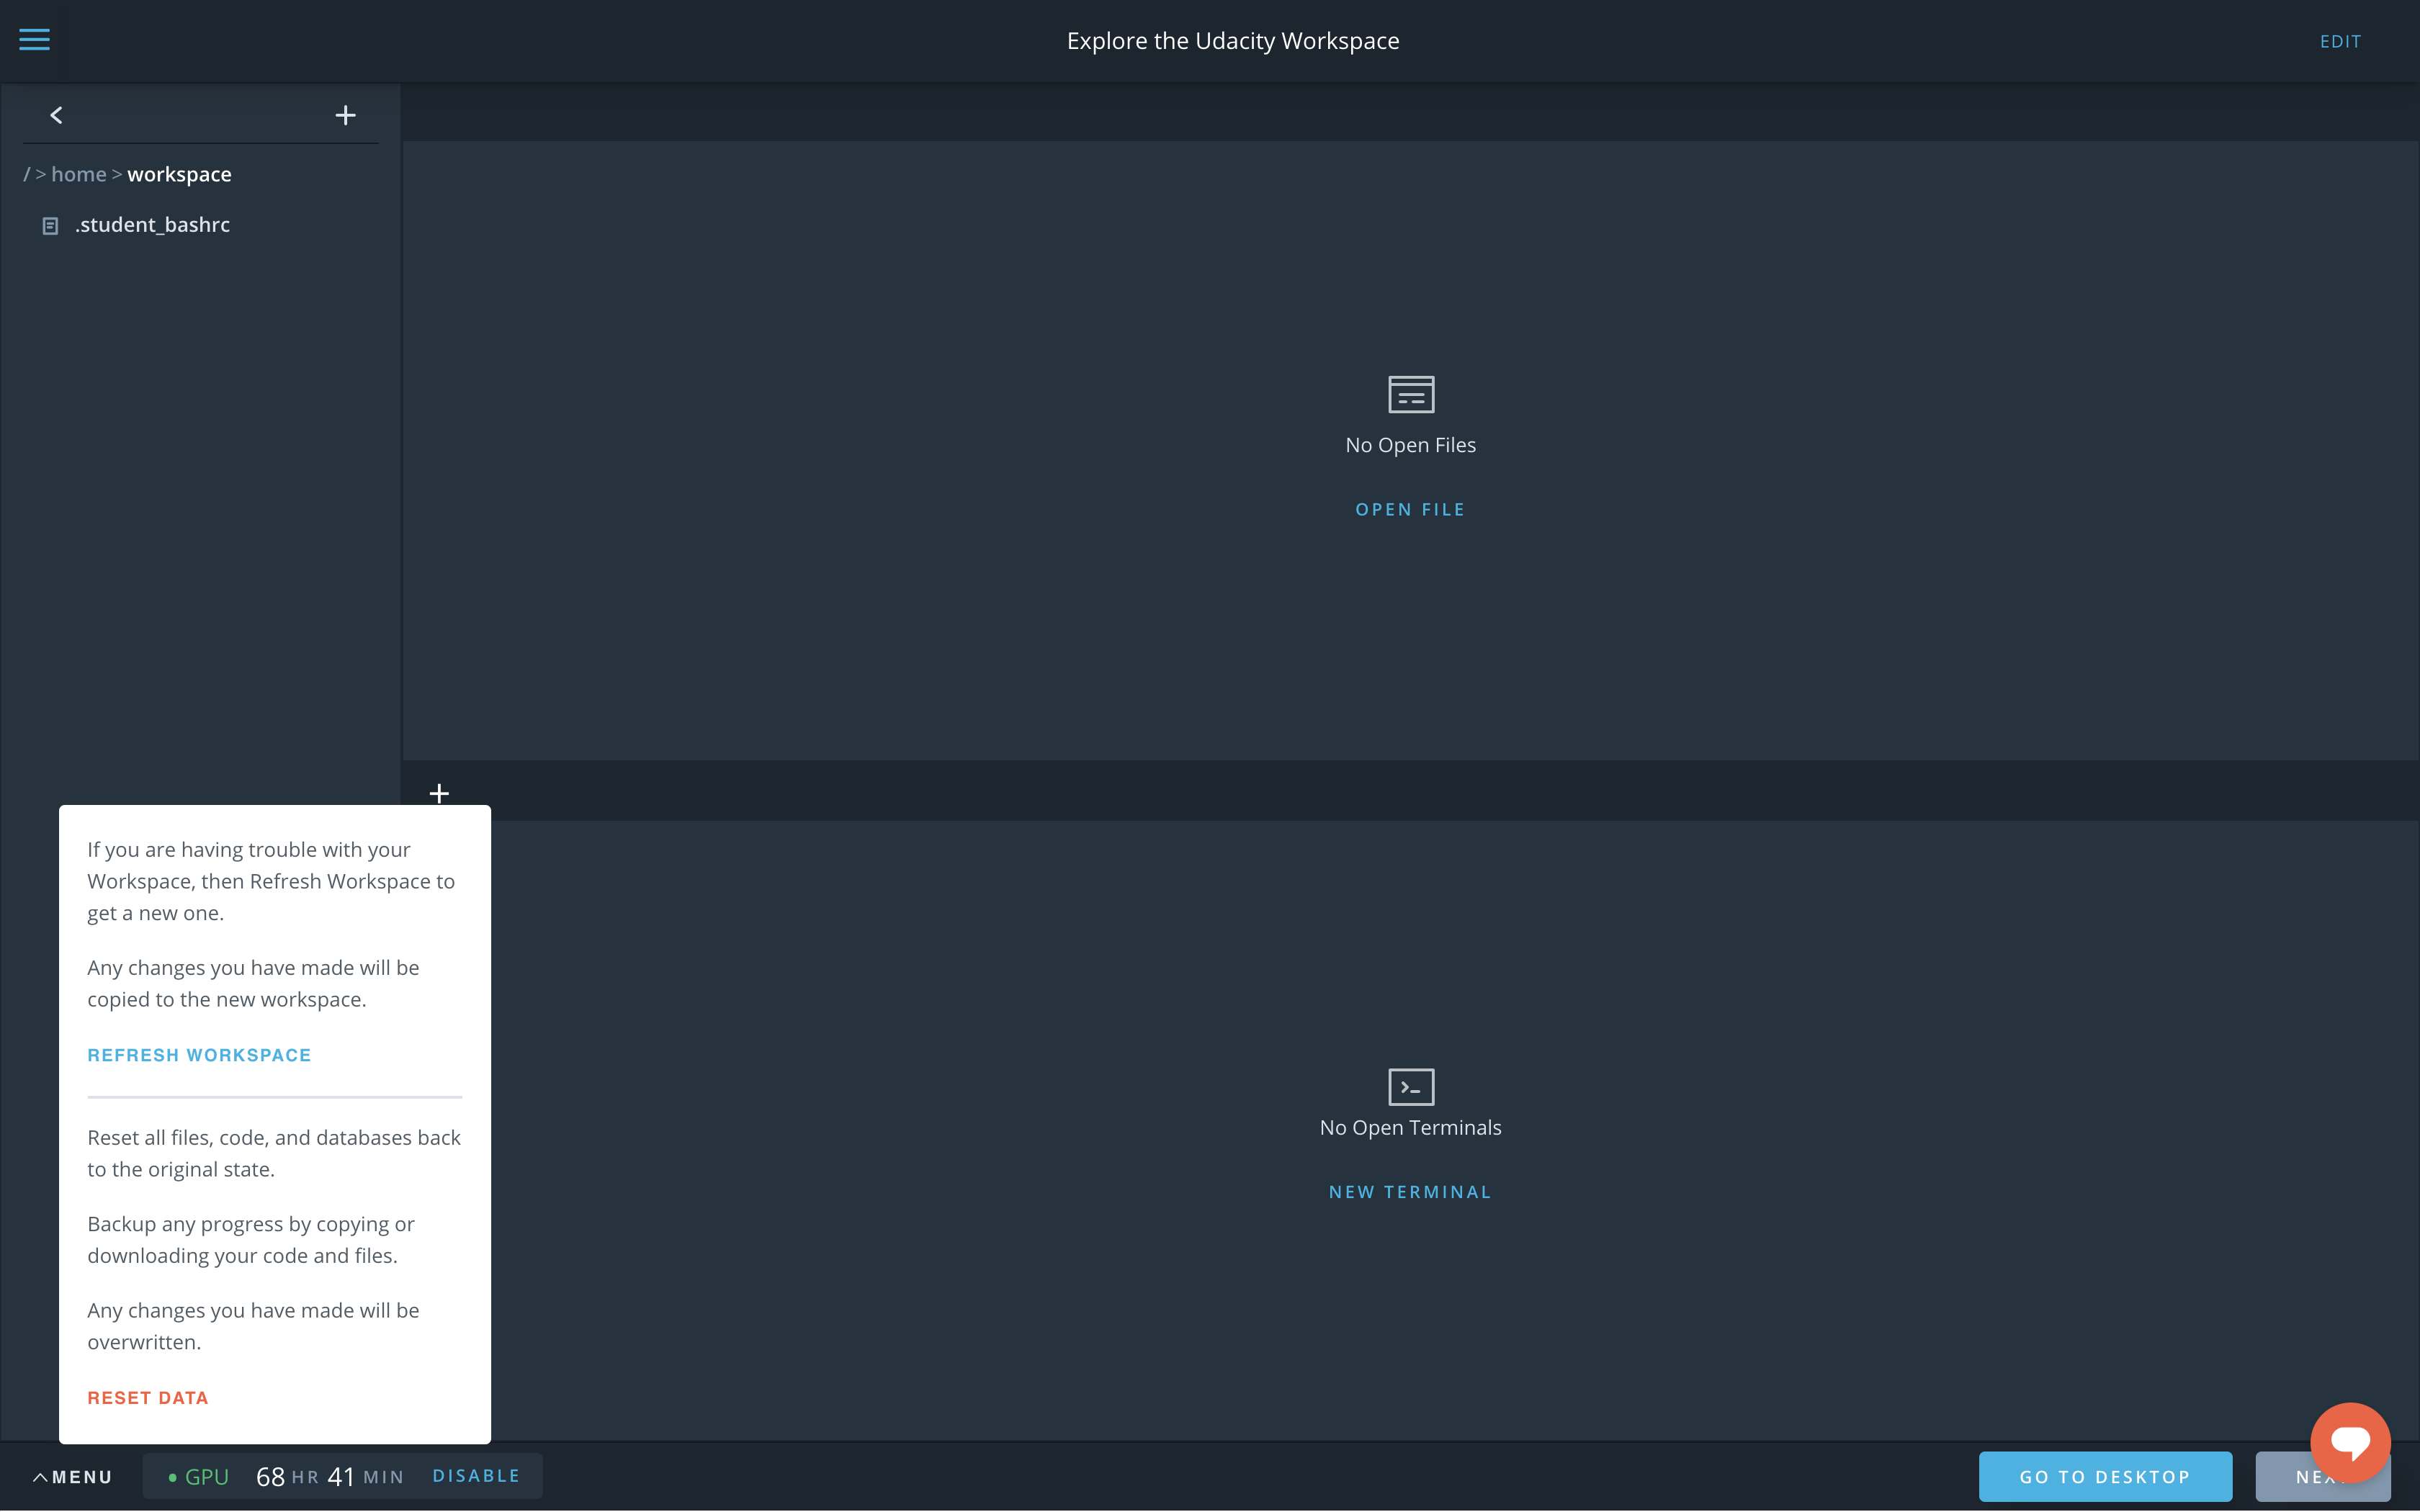
Keep an eye out for the little red indicator next to MENU in the lower left corner. This indicates that there is new content or an update provided with the Udacity Workspace.
In order to add this new content to your workspace, you must complete the RESET DATA step. Be sure to download and backup any work you've done before executing this step, as all of your work will be overwritten with a new classroom instance.
